How patches are born
The Art and Craft of Making PVC Patches
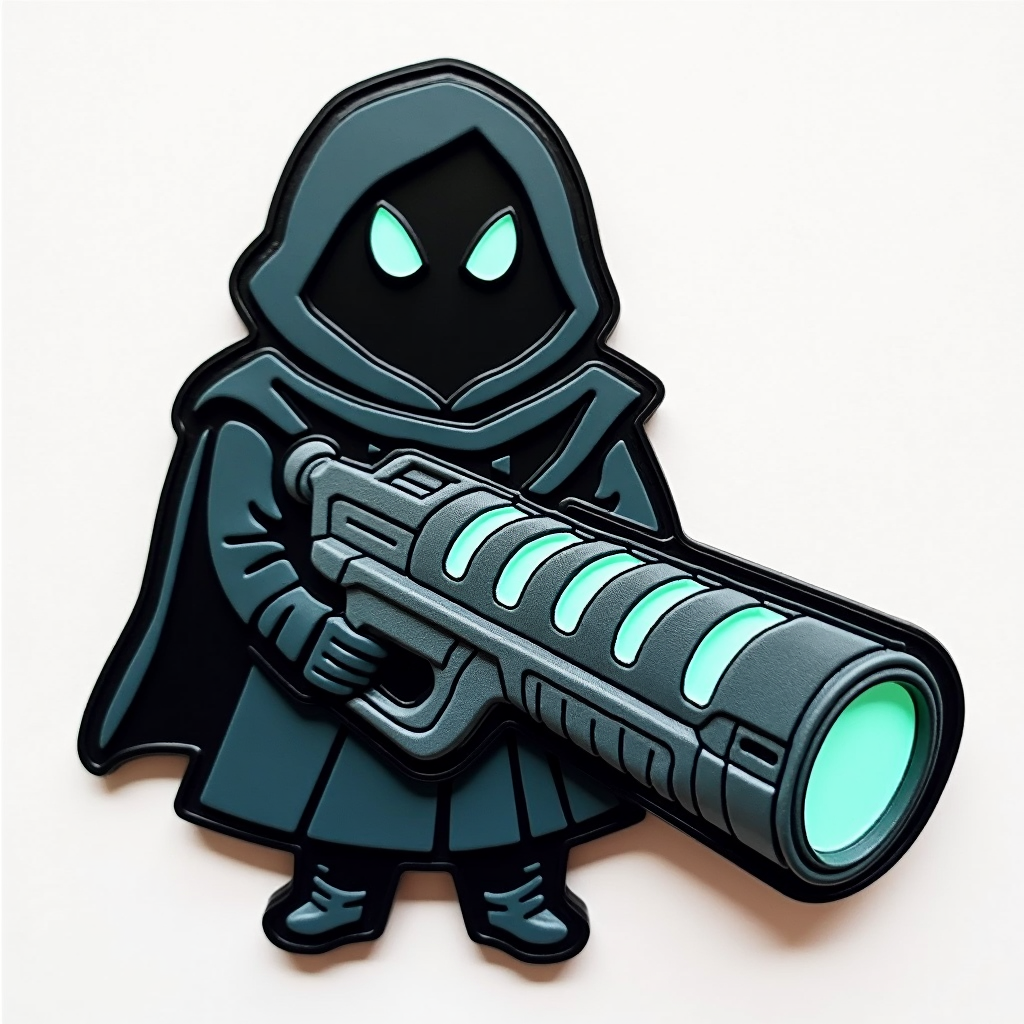
PVC patches have become a popular choice for adding a unique and durable touch to clothing, accessories, and gear. But have you ever wondered how these vibrant and detailed patches are made? Let's dive into the fascinating process of creating PVC patches, from concept to finished product.
1. Design and Conceptualization
The journey of a PVC patch begins with a design. Whether it's a logo, a mascot, or a custom artwork, the design is the foundation of the patch. Designers use graphic design software to create a detailed and precise digital representation of the patch. This design includes all the colors, shapes, and elements that will be featured on the final product.
2. Mold Creation
Once the design is finalized, the next step is to create a mold. The mold is a negative impression of the design, and it will be used to shape the PVC material. Skilled craftsmen use CNC (Computer Numerical Control) machines to carve the mold out of metal. This process requires precision and attention to detail to ensure that every aspect of the design is accurately captured.
3. Mixing and Coloring the PVC
PVC, or polyvinyl chloride, is a versatile plastic material that can be colored and molded into various shapes. To create the patches, the PVC material is mixed with color pigments to achieve the desired hues. This step is crucial for ensuring that the patches are vibrant and true to the original design.
4. Injection Molding
With the mold ready and the PVC material colored, it's time for the injection molding process. The colored PVC is heated until it becomes a liquid, and then it is injected into the mold. The mold is carefully filled to ensure that all the details of the design are captured. Once the mold is filled, it is cooled to allow the PVC to solidify and take shape.
5. Trimming and Finishing
After the PVC has cooled and solidified, the patches are removed from the mold. At this stage, they may have excess material or rough edges that need to be trimmed. Skilled workers carefully trim and finish the patches to ensure they are clean and polished. This step is essential for achieving a professional and high-quality look.
6. Adding the Backing
The final step in the process is to add the backing to the patches. PVC patches can be backed with various materials, such as hook and loop (Velcro), adhesive, or sew-on backing. The choice of backing depends on how the patch will be used. For example, hook and loop backing is ideal for patches that need to be easily attached and removed, while sew-on backing is perfect for permanent applications.
Conclusion
Creating PVC patches is a meticulous and creative process that combines artistry with precision engineering. From the initial design to the final product, each step is carefully executed to ensure that the patches are durable, vibrant, and true to the original concept. Whether you're looking to add a unique touch to your gear or promote your brand, PVC patches are a versatile and eye-catching option.
Our PVC patch collection